Jupyter at JSC
![]()
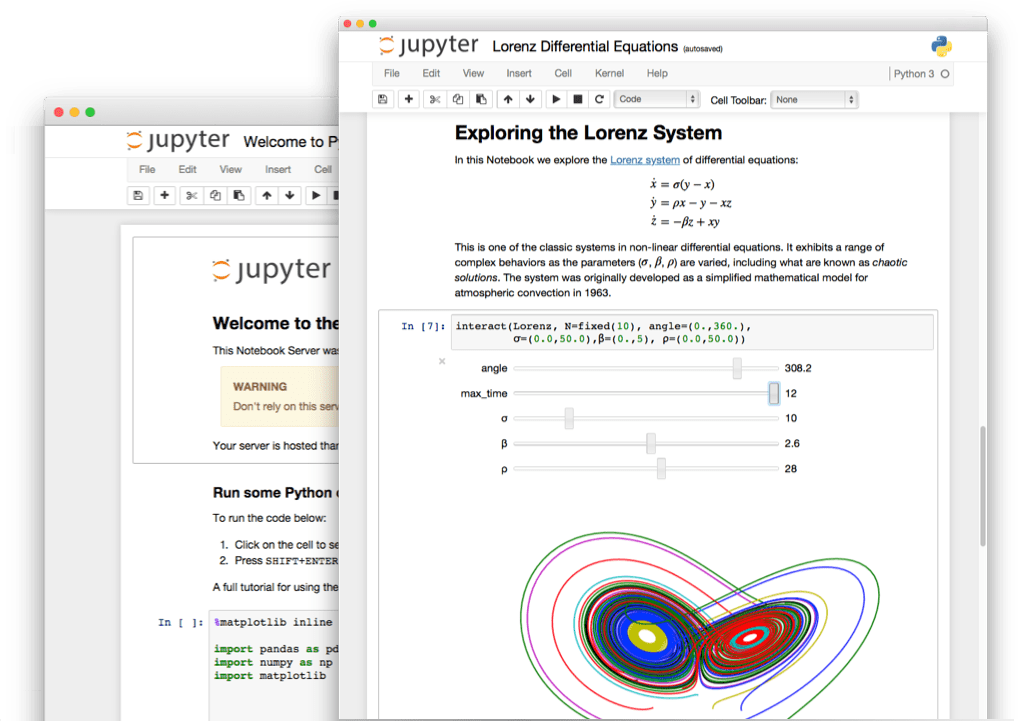
Jupyter is an interactive computational environment in the web browser, in which you can combine code execution, rich text, mathematics, plots and rich media in a document called Jupyter Notebook. Jupyter Notebooks are for creating reproducible computational narratives.
The Jupyter Notebook is based on a set of open standards for interactive computing. Think HTML and CSS for interactive computing on the web. These open standards can be leveraged by third party developers to build customized applications with embedded interactive computing.
- Share notebooks
Notebooks can be shared with others using email, Dropbox, GitHub and the Jupyter Notebook Viewer.
- Interactive output
Your code can produce rich, interactive output: HTML, images, videos, LaTeX, and custom MIME types.
- Big data integration
Leverage big data tools, such as Apache Spark, from Python, R and Scala. Explore that same data with pandas, scikit-learn, ggplot2, TensorFlow.
- Language of choice
The Notebook has support for over 40 programming languages, including Python, C++, Julia, R and Bash.
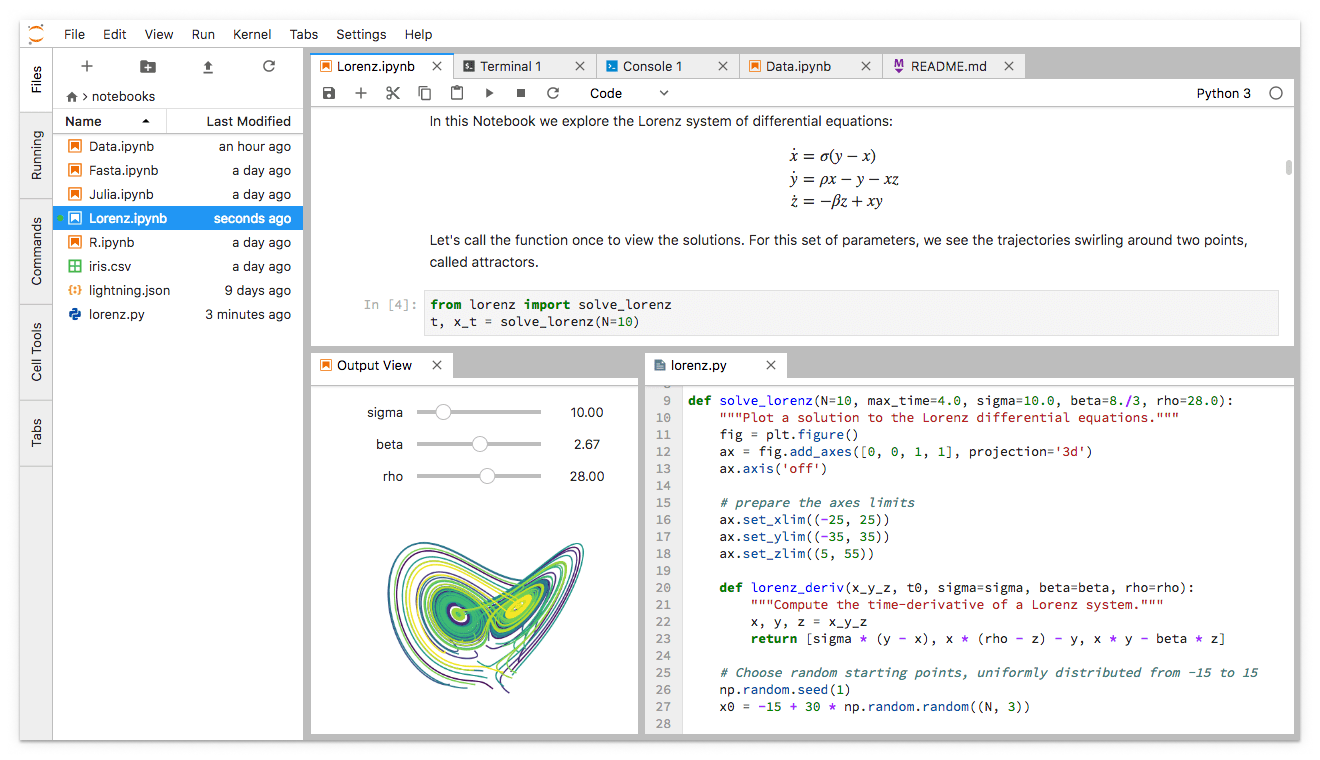
JupyterLab
 JupyterLab provides a high level of integration between notebooks, documents, and activities.
JupyterLab is the advanced interactive development environment for working with notebooks, code and data and has full support for Jupyter Notebooks.
But additionally, JupyterLab enables you to use
- text editors, terminals
- data file viewers
- and other custom components
side by side with Jupyter Notebooks in a tabbed work area.
Get inspired and check these example Jupyter notebooks:
- Jupyter Notebook Gallery (https://github.com/jupyter/jupyter/wiki/A-gallery-of-interesting-Jupyter-Notebooks)
Ok, what do I have to do?
|
Jupyter or JupyterLab (Interactive Supercomputing at JSC)
... and you are ready to start Jupyter. Here you can deside
................................................................................................................................................................................... |
|---|

Jupyter Kernel - The Computational Engine
A Jupyter kernel is a “computational engine” that executes the code contained in a Jupyter Notebook document.
Various kernel have been provided by different groups.
Here is a list of available kernels: https://github.com/jupyter/jupyter/wiki/Jupyter-kernels
In general the Jupyter Kernel live in the system environment, which is loaded for Jupyter itself.
On JURECA currently the following kernel are installed:
- Python
- C++ (14,17,1z)
- Julia
- Bash
but you can create your own specialized Jupyter kernel if you like (and need).
Setup your own specialized Jupyter-Kernel
The installed kernels might not suite your needs and you want to switch to a different software stage or want to load additional software modules.
In that case you need to set up your own specialized Jupyter kernel (located in ${HOME}/.local/share/jupyter/kernels/).
This can be done in the terminal in a few steps on the supercomputer:
- LOAD the modules you need
- start with module --force purge to remove any module which is already loaded
- ensure this includes a recent Python 3.x (even if you are not planing to use Python)
- example:
- CREATE a new Python virtual environment (VENV) on the supercomputer
- e.g. in $HOME/venv_mykernel/
- more: https://docs.python.org/3/library/venv.html
- example:
- ACTIVATE the new Python virtual environment (VENV) in your terminal
- the loaded modules modify $PYTHONPATH
- ensure(!!!) the first entry is the site-package directory of your VENV (use python -m site)
- export PYTHONPATH=<DIR-OF-VENV>/lib/python3.6/site-packages:${PYTHONPATH}
- example:
- the loaded modules modify $PYTHONPATH
- PIMP your VENV
- install ipykernel with pip
- install any other python software you need with pip
- example:
- INSTALL your personal Jupyter kernel
- location of the new Jupyter kernel: ${HOME}/.local/share/jupyter/kernels/mykernel/
- more: http://ipython.readthedocs.io/en/stable/install/kernel_install.html
- example:
Now, modify this basic jupyter kernel to suite your needs.
- WRITE a launch script
- that sets up your environment
- load the same modules as in (1)
- followed by the IPython kernel launch
- load the Python virtual environment as in (3)
- example (e.g. ${HOME}/venv_mykernel/mykernel.sh):
- that sets up your environment
- MODIFY the Jupyter kernel configuration file
- located in ${HOME}/.local/share/jupyter/kernels/mykernel/kernel.json file
- it must call your launch script:
- example:
JupyterLab Extensions - Developing new Features
JupyterLab is built on top of an extension system that enables you to customize and enhance JupyterLab by installing additional extensions.
To start developing a JupyterLab extension, see
- the JupyterLab Extension System http://jupyterlab.readthedocs.io/en/stable/user/extensions.htm
- the JupyterLab Extension Developer Guide (http://jupyterlab.readthedocs.io/en/stable/developer/extension_dev.html)
- the TypeScript (https://github.com/jupyterlab/extension-cookiecutter-ts)
- JavaScript extension templates (https://github.com/jupyterlab/extension-cookiecutter-js)
JupyterLab use modern JavaScript technologies such as
- PhosphorJS, https://phosphorjs.github.io , for building extensible, high-performance, desktop-style web applications
- TypeScript, https://www.typescriptlang.org , a typed superset of JavaScript, that compiles to plain JavaScript
- React, https://reactjs.org , a JavaScript library for building user interfaces
- Lerna, https://lernajs.io , optimizes the workflow around managing multi-package repositories with git and npm.
- Yarn, https://yarnpkg.com , Yarn is a package manager for your code.
- webpack, https://webpack.js.org , static module bundler for modern JavaScript applications
Attention:
JupyterLab extensions are written partly in TypeScript (file extension *.ts).
These files are compiled to JavaScript with the TypeScript compiler tsc. Therefore, if you change a *.ts file you need to rebuild the JavaScript file. On installation this is done by npm through the file package.json, which triggers tsc. tsc will search for the file tsconfig.json in the current directory and build depending on the configuration there the JavaScript files into a defined output directory.
To rebuild your *.ts files, just call tsc in the directory with tsconfig.json.
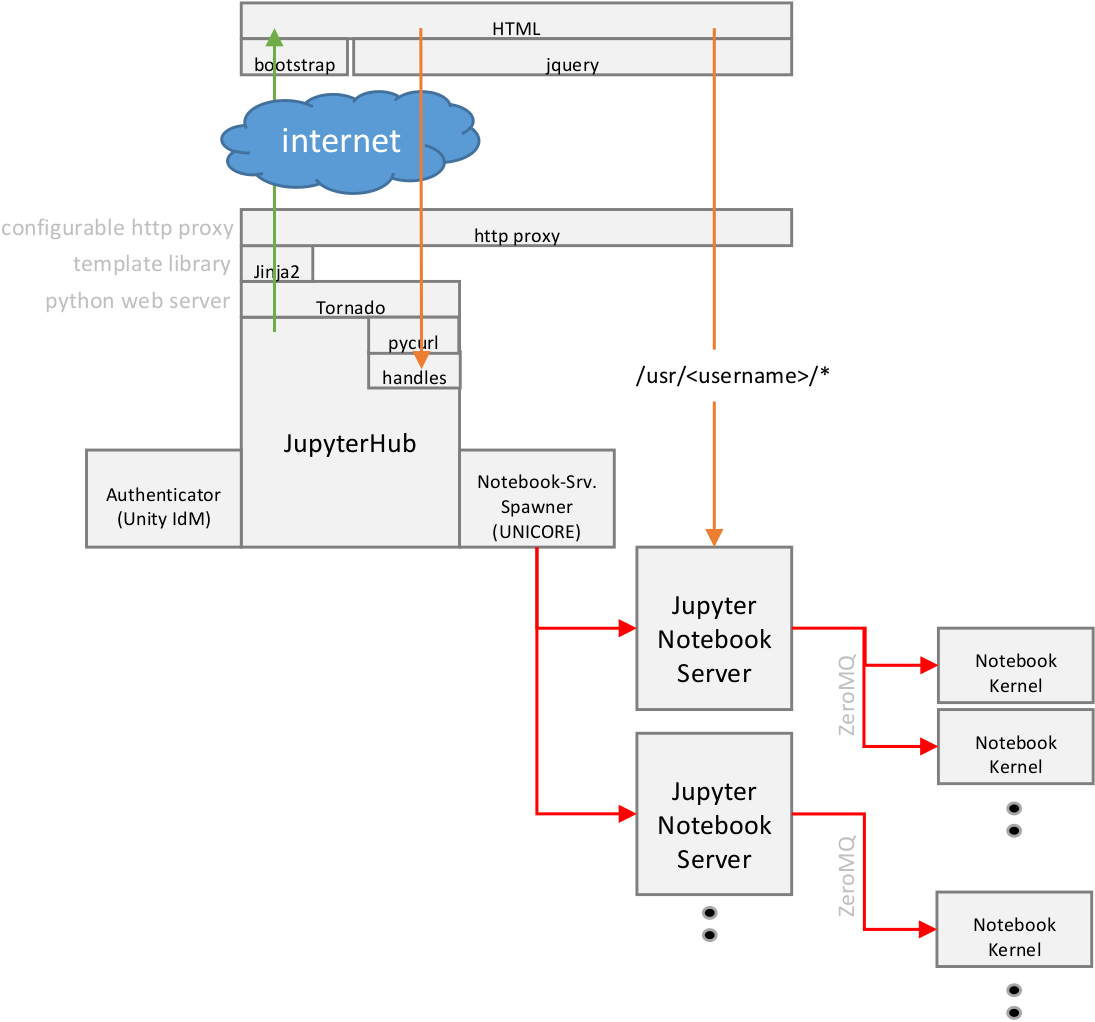
JupyterHub - Integration of Jupyter in a Multiuser Environment
 JupyterHub is a multi-user server that manages and proxies multiple instances of the single-user Jupyter notebook server.
The Hub can offer notebook servers to a class of students, a corporate data science workgroup, a scientific research project, or a high performance computing group. With JupyterHub a multi-user Hub which spawns, manages, and proxies multiple instances of the single-user Jupyter notebook (IPython notebook) server can be created.
There are three basic processes involved:
- multi-user Hub (Python/Tornado)
- configurable http proxy (node-http-proxy)
- multiple single-user IPython notebook servers (Python/IPython/Tornado)
The proxy is the only process that listens on a public interface. The Hub sits behind the proxy at /hub. Single-user servers sit behind the proxy at /user/[username].
more:
https://jupyterhub.readthedocs.io/en/0.7.2/howitworks.html
https://trac.version.fz-juelich.de/vis/wiki/Software/Jupyter
General Links
Jupyter@JSC: https://jupyter-jsc.fz-juelich.de
Jupyter Homepage: http://www.jupyter.org
Jupyter Blog: http://blog.jupyter.org
Jupyter Notebook Gallery: https://github.com/jupyter/jupyter/wiki/A-gallery-of-interesting-Jupyter-Notebooks
JupyterLab:
- Introduction: https://blog.jupyter.org/jupyterlab-is-ready-for-users-5a6f039b8906
- Overview: http://jupyterlab.readthedocs.io/en/stable/getting_started/overview.html
- Interface: http://jupyterlab.readthedocs.io/en/stable/user/interface.html
Source-Code Links
Jupyter: https://github.com/jupyter/jupyter
- Jupyter Notebook: https://github.com/jupyter/notebook
- Jupyter Console: https://github.com/jupyter/jupyter_console
- Jupyter NBViewer: https://github.com/jupyter/nbviewer
- Jupyter Kernel
- Jupyter IPyKernel: https://github.com/ipython/ipykernel
- Jupyter IPyWidgets: https://github.com/jupyter-widgets/ipywidgets
- other
- Tornado Web Server: https://github.com/tornadoweb/tornado
JupyterLab: https://github.com/jupyterlab/jupyterlab
JupyterHub: https://github.com/jupyterhub/jupyterhub
- Jupyter Http Proxy: https://github.com/jupyterhub/configurable-http-proxy
any feedback welcomed - j.goebbert@…, h.zilken@…
Attachments (6)
- jupyter-main-logo.png (60.7 KB ) - added by 6 years ago.
- jupyterpreview.png (73.4 KB ) - added by 6 years ago.
- jupyterpreview.2.png (73.4 KB ) - added by 6 years ago.
- JupyterLab-workspace.png (208.6 KB ) - added by 6 years ago.
- Jupyter.png (79.3 KB ) - added by 6 years ago.
- JupyterHub-Structure.png (87.4 KB ) - added by 6 years ago.
Download all attachments as: .zip